Make Another Photo Library Your System Library Mac
- Make Another Photo Library Your System Library Mac Download
- Make Another Photo Library Your System Library Mac Torrent
- Find Photo Library On Mac
Apr 01, 2020 Follow these steps to designate a System Photo Library: Quit Photos. Hold down the Option key and open Photos. One of the photo libraries is already designated as YourLibraryName (System Photo Library). Choose the library you want to designate as the System Photo Library. After Photos opens the. Apr 22, 2015 If you want to get all of your photos and videos in iCloud, however, you can designate another library as your System Photo Library and then enable iCloud Photo Library.
You can easily switch to another library and designate it as the 'System Photo Library'. If you switch to another library, then Photos app will automatically turns OFF all iCloud services. You must turn ON the iCloud Photos Sharing and My Photo Stream with a newly designated System Photo Library to use iCloud Photo Library. You can turn them ON in the iCloud pane of 'Photos' preferences. Once you turn ON iCloud Photo Library after designating a System Photo Library, all the photos stored in iCloud are merged with those in the new System Photo Library. When you upload photos from the new System Photo Library to iCloud, the libraries will not be able to unmerged.
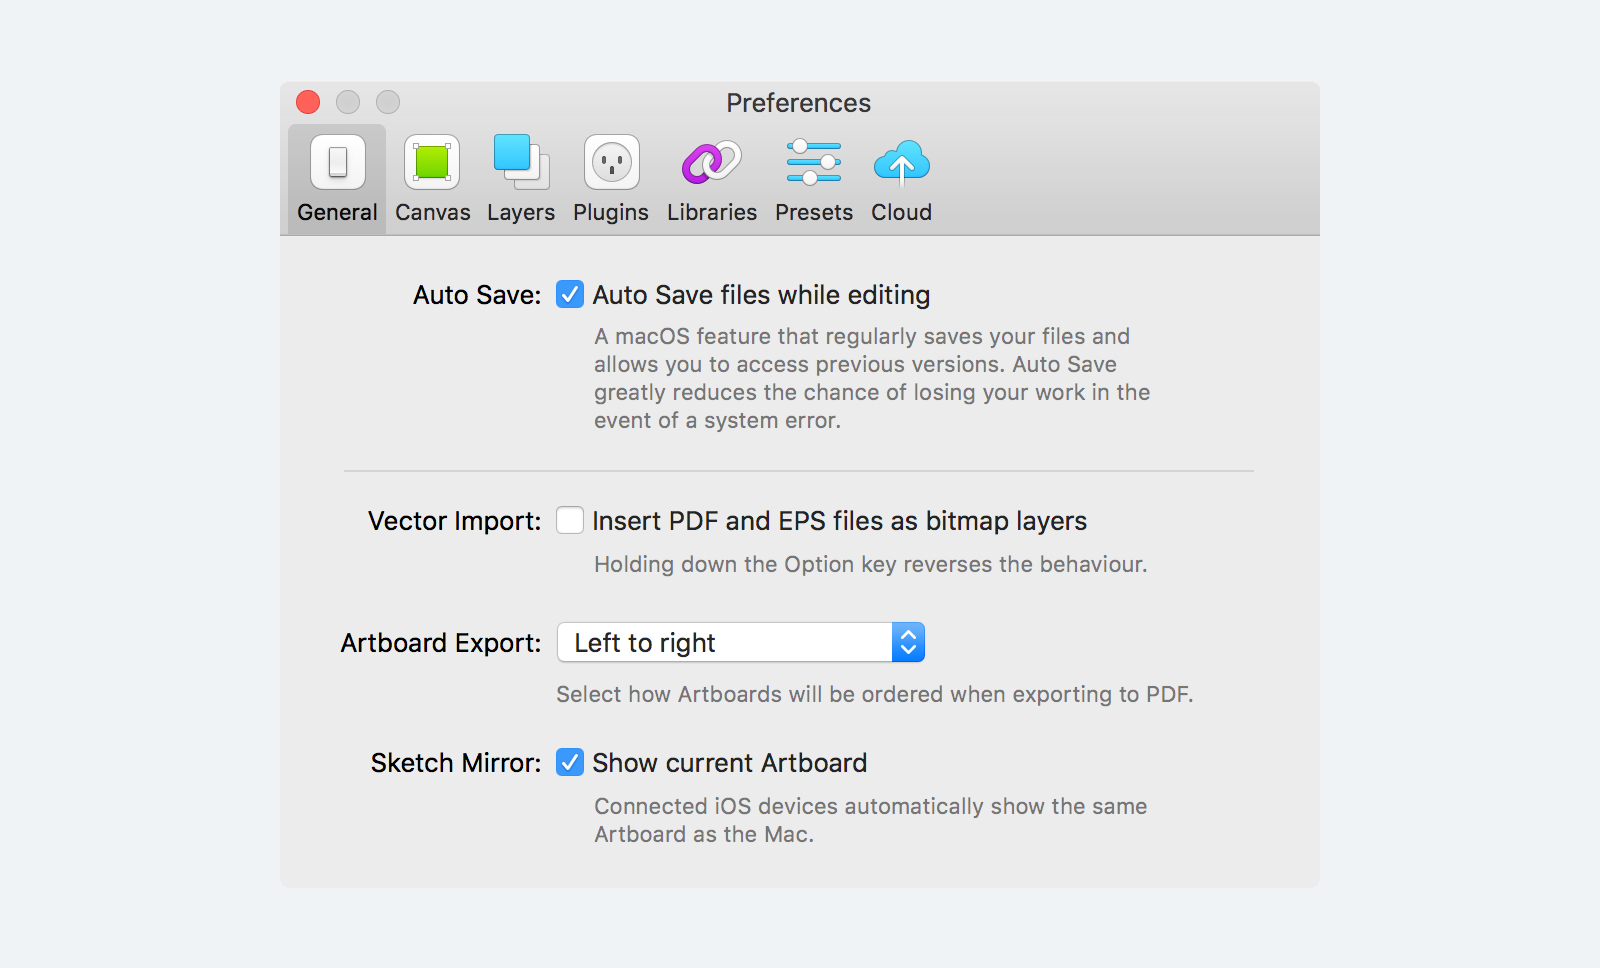
To Designate the current library as the System Photo Library, choose 'Photos' and select 'Preferences' option. Click 'General' tab and then click 'Use as System Photo Library' button.
Quick Tip to Keep your Photos Safe
Making backups of your photos & videos is a chore you probably skip, but it really doesn't have to be hard. Here's an effortless way to backup photos - PicBackMan. PicBackMan is the easiest and simplest way to keep your photos safely backed up in one or more online accounts. Simply download PicBackMan (it's free!), register your account, connect to your online store and tell PicBackMan where your photos are - PicBackMan does the rest, automatically. It bulk uploads all photos and keeps looking for new ones and uploads those too. You don't have to ever touch it.
 A comprehensive macOS UI Library, brought to you by Sketch. With almost 300 Symbols and over 50 designed especially for the MacBook Pro's Touch Bar, this kit. 2018-7-27 macOS UI Design Library.sketch百度网盘资源下载,凤凰天使tsks制作-tskscn.comsketchhdtv-mkv(720p) 韩语中字第16集.torrent 豆瓣7.3韩剧悬疑素描.2018.完结,凤凰天使tsks制作-tskscn.comsketchhdtv-mkv(720p) 韩语中字第14集. Sketch App free sources, macOS UI Library resource, for Sketch App. MacOS UI Library Sketch file freebie. Submit your resource. Home; Free Resources. UI (2572) Icons (1024) Wireframes (234) Web (913) Mobile (1145). Show your appreciation by sharing Sketch Design Team's macOS UI Library. Elements UI Kit by Sketch. Get inspiration or use it as a great foundation for your next design. Install Browse. IOS UI Library by Apple. This official iOS UI kit from Apple is a comprehensive Library that includes the full range of controls, views, and glyphs needed for your iPhone and iPad designs.
This will open a Finder window with your current Mac Photos library highlighted.NOTE: Your Mac Photos library will almost certainly be called something else; we changed the name of the file for the purposes of this tutorial. Nowhere is the secret: to export your Mac Photos library to another location, all you have to do is copy that file. Jul 12, 2017 You can also just never convert your new photos library into a system library and just store all your photos locally (or on Dropbox or OneDrive or any other cloud drive). If you’re a Mac owner who’s used iPhoto or another third-party application, Apple’s new app and its iCloud integration will likely appeal to you because it is now OS X’s default, native photo application.
Free up your space by transferring your Photos library to another external hard drive. By freeing up space you will have valuable space for your work on your Mac. In addition to this, we will help you to back up your whole photo library to iCloud.
Why store photos on external drive
In today’s world, everyone loves to capture photos of every single moment and wants to save all those moments in his/her personal devices like Mac. But saving all your photos can fill-up your Mac storage quickly and you may face the shortage of space.
There are many options to store your photos data. One of them to store your photos on iCloud photo library but the drawback of saving your photos on iCloud is, if you delete the photo from your device it will be deleted from iCloud as well.
One question raised up here is that what we can do to store all our photos to some safe place if we are running out of space on Mac?
Fortunately, you have visited the right place to find the solution to your problem. There is a safer and easy way to transfer your entire photo library from your Mac to your external drive. The best of this trick is whenever you need to see your photos on your Mac you just need to open photo library app on your Mac it will automatically take you to your saved photos in external hard drive until unless it is plugged in.
Snapshot of the guide
There is a quick snapshot of the guide so you can understand quickly how to move the library to external drive.
- Prepare your external hard drive to move Photo Library. Make sure drive is formatted as MacOS Extended Journaled.
- Go to the location of the Photo library and move it to external drive.
- Set the external library as a System Photo Library (So whenever you open the Photos app it will open the photos library from the external hard drive.)
- After completing trasfer to drive, make sure this external drive is connected to your Mac whenever you want to access photos.
Our article will help you to move your photos from Mac to external hard drive. Continue reading the steps are about to start.
Do not worry if you have already stored your photos on iCloud photo library. Our article will help you to get back your already saved photos in iCloud photos library and will help you to move them to external hard drive. Here is how to do it.
System Photo Library vs Other Library
When you run Photos app on your Mac first time this will ask you to create a new or use an old library. That default Photo library became the system library automatically. Only System Photo Library are allowed to access iCloud services.
You can create multiple other libraries and work with photos only in one library at a time. To work in another library you have to switch the library. You can also change and set one of the other libraries as a System library.
How to transfer the Photos library to a hard drive
Make Another Photo Library Your System Library Mac Download
First, make it sure the hard drive you are going to use for Photos library is faster and have enough space. It will save your time and stored your memories quickly. A good hard drive always keeps your stuff secure and there are fewer chances of losing your data.
Before going step by step to move your photo library to external hard, first make it sure that your external hard drive is already formatted for Mac OS Extended (journaled). If it is not formatted for Mac first erase all the data from it and format and choose the option of Mac OS Extended (journaled). Use the Disk Utility on your Mac to erase any hard drive (When you erase any drive in mac everything will be deleted, so please save any important data ).
- Find the Photos Library on your Mac, it will be in your Pictures folder. Click the Go menu on the top and then select Home option from the menu.
- Open the Pictures folder and there you will find the Photos library.
TIP: In order to see how much storage your photos have taken, just Ctrl+Click on the photos library icon and click on Get Info. Now you can make sure that you have enough storage in your external hard drive. - It’s time to copy your Photos Library to your external hard drive using drag and drop trick. Now sit back and wait until copies over. The time of transferring photos depends on the size of your Photo Library.
- When transferred completed, press and hold the Option/Alt key from keyboard and click the Photos app icon from Dock to open it. Keep holding the keyboard key until you see a window otherwise this will open the Photos app.
- You will see a new window to choose the library. On that window hit the button Other library. Navigate to the new location on your external hard drive and choose the Photo Library.
- If there is a message that shows “there are some items that need to be downloaded from iCloud Photo library” then you need to click on delete incomplete items and download all those incomplete items.
Set a photo library as System Photo Library
We have already moved the library to an external drive now its time to set it as System Photo Library. Doing that will allow it to use iCloud service.
- Open the Photo Library from the external drive.
- Click Photos men and then select the Preferences option.
- On the next window click General and then click Use as System Photo Library button (this will help you to get it to work with iCloud Photo Library)
TIP: Remember this is the step you need to perform in future If you accidentally unlinked the external drive’s photo library from the Photos app. - Go to System Preferences then iCloud then Photos then Options, and choose iCloud Photo Library to turn that back on. See if you have stored all the photos here.
Note: you will need to plug in your external hard drive in order to see your photos).
Make Another Photo Library Your System Library Mac Torrent
Delete Photo Library from Mac
Once you have confirmed that all the photos in the library moved to the external drive. You can delete the Photo Library from your Mac computer. Go to the Pictures folder and delete it to free up space from your mac.
How to back up your iCloud Photo Library
If you want to move all your photos which you have already backed up to your iCloud photo library to a storage device connected to your Mac. Follow our step by step guide above, but you need to download all the images from iCloud first.
Find Photo Library On Mac
If you have already transferred your Photos library onto the external storage device, now you need to follow these steps.
- Open Photos on your Mac.
- Click Photos then click on Preferences.
- Click on the iCloud tab.
- Choose Download originals to this Mac.
Now all your iCloud photos will be saved on the storage device. (If you are running short of space you would probably not want to do that)
No related posts.